http://www.jamesonwilliams.com/hardy-r8168.htm
After getting my network card to work, I installed Dynamips. Below is the process. I was able to get a lot of details from regarding this from ( http://ubuntuforums.org/showthread.php?p=5282100)
1) Create a directory for Dynamips
sudo mkdir /opt/dynamips
2) Change to the directory
cd /opt/dynamips
3) Goto dynagen website and download the latest version. At the time of writing this, the latest realease was "dynagen 0.11.0"
4) Copy the location of the file. For instance, in Firefox , right-click the link and select copy link location.
5) Download dynagen using wget (paste the copied link of the dynagen here)
sudo wget http://downloads.sourceforge.net/dyna-gen/dynagen-0.11.0.tar.gz?modtime=1208688475&big_mirror=0
6)Extract the tar ball
 tar -xvzf dynagen-0.11.0.tar.gz
7) Goto the directory
cd /opt/dynamips/dynagen-0.11.0
8) The README.txt file in this directory gives you the version of Dynamips required.
vi README.txt
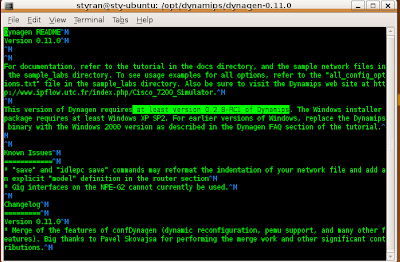
The highlighted section above tells us to use atleast version 0.2.8-RC1 or higher of Dynamips.
9) Goto Dynamips blog and wget the amd64 (64bit version)
http://www.ipflow.utc.fr/blog/
Change back to /opt/dynamips directory
cd /opt/dynamips
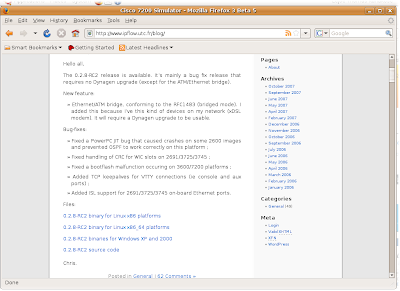 sudo wget http://www.ipflow.utc.fr/dynamips/dynamips-0.2.8-RC2-amd64.bin
Note: Above file is the 64bit version of dynamips, since I am running it on Ubuntu 8.04 64bit
9) Change the permission of the downloaded file
sudo chmod 755 dynamips-0.2.8-RC2-amd64.bin
10) Create symbolic links for dynamips and dynagen
cd /usr/bin
sudo ln -s /opt/dynamips/dynamips-0.2.8-RC2-amd64.bin dynamips
sudo ln -s /opt/dynamips/dynagen-0.11.0/dynagen dynaged
12) Create a directory for your IOS images
cd /opt/dynamips sudo mkdir images
13) Download the IOS images and place it in /opt/dynamips/images directory

All ready to run DYNAMIPS!!!
1) Navigate to
cd /opt/dynamips/dynagen-0.11.0/sample_labs/simple1
2) Edit simple1.net file
sudo gedit simple1.net
Specify the correct path of your images, in this case /opt/dynamips/images/XXXXXX.bin.
Also change RAM size as required by the IOS.
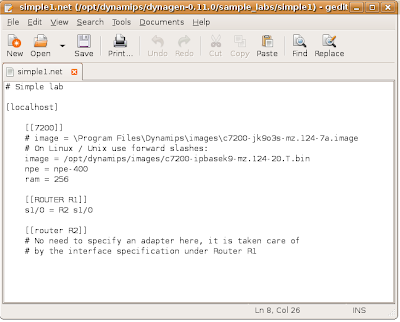
Save and Exit.
3) Run the Dynamips process
sudo dynamips -H 7200 &
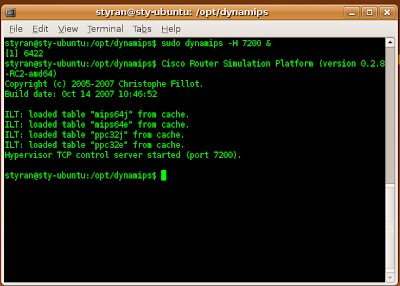 4) Use dynagen to load simple1.net file
 sudo dynagen simple1.net
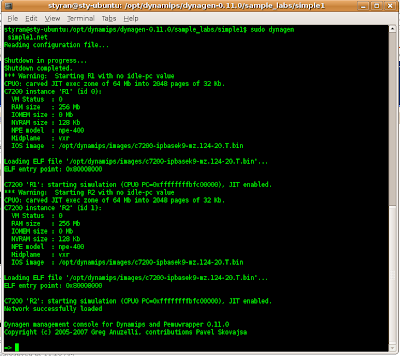 5) At => prompt type ? for a list of options. List command will show the devices available as configured in the .net file.
6) Telnet to a device.
Telnet R1
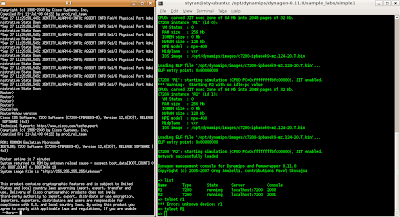
Note: You can also use your favorite programs such putty and telnet to localhost:2000 etc
In the next section, I'll discuss how to configure idlepc values so that your CPU is not on 100%, when you load several devices in your lab.
1 comment:
Ah good work mate - been toying with the idea of scrapping GNS3 for a while to get something more precise. Thanks for the tutorial, thought it'd take a whole day to get this running but did it in 5 minutes.
Thanks very much, well written for Ubuntu virgins.
Post a Comment